Top 10 tips to prepare your garden for spring
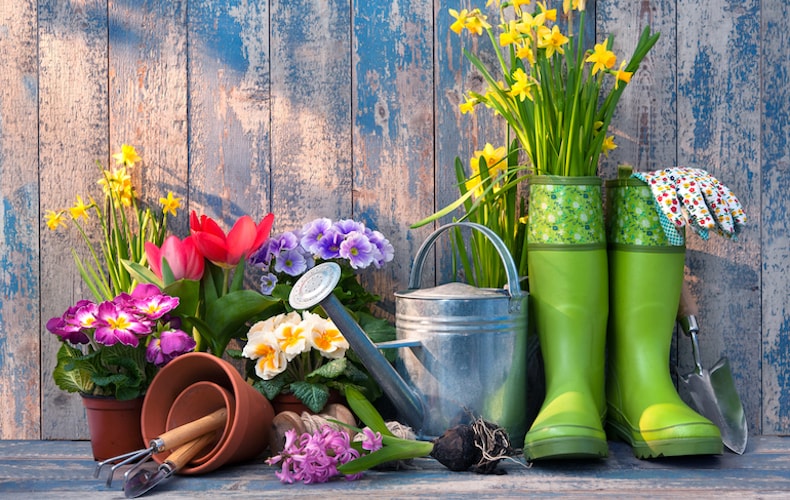
Get your garden ready for spring!
Image: Alexander Raths/Shutterstock
Spring is on its way and you’ll soon be caught up in a frenzy of seed sowing, growing, and nurturing your garden as it comes back to life. Make use of these quieter winter months to organise your thoughts and get a head start on the new gardening year. Read our useful guide for top tips on how to prepare you garden for spring.
1. Order summer-flowering bulbs and seeds
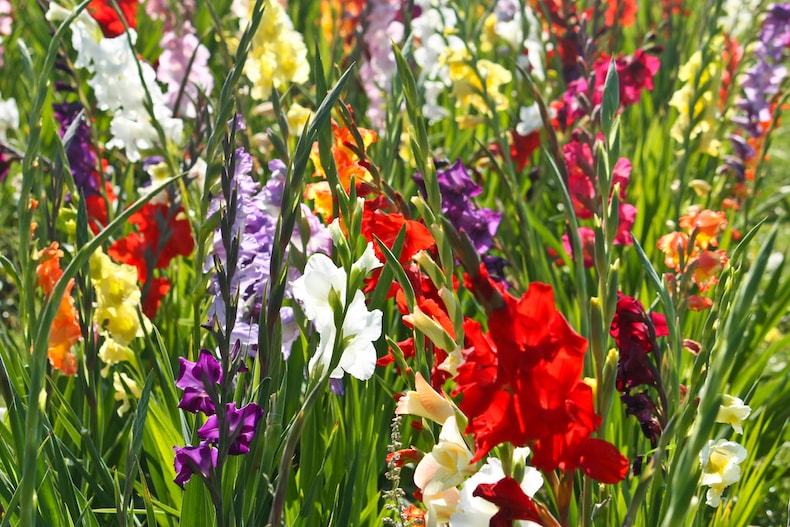
Use gladiolus in gorgeous cut flowers displays
Image: Gladiolus 'Giant Summer Collection' from Thompson & Morgan
Order summer-flowering bulbs and seeds now - it’s the perfect task for a wet and windy winter’s day. Flowers like lilies, gladioli and ranunculus can all be ordered in the winter for early-spring planting.
Make the most of those days you’re stuck indoors to browse our catalogue or website for inspirational new varieties of seeds and bulbs to plant and grow this year. And for more advice on planting bulbs, take a look at our 'How to plant bulbs' article.
2. Tidy up flower beds and borders
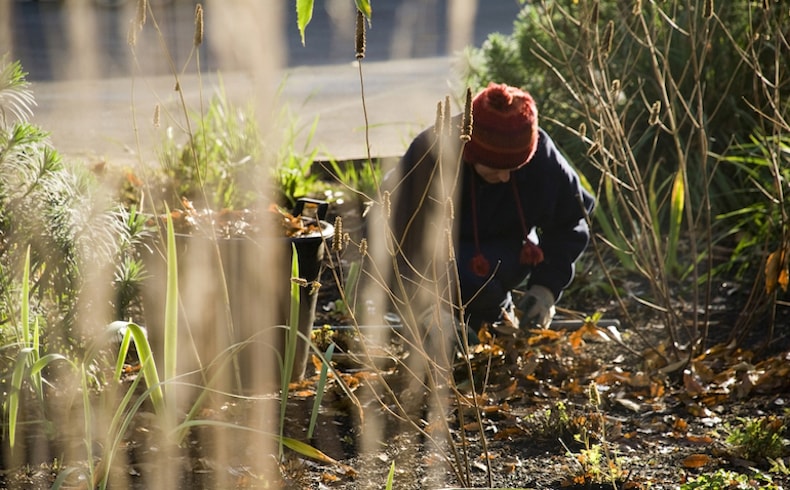
Clear borders and beds of dead leaves and debris
Image: Shutterstock
Have a general tidy up, removing leaves and other debris from flower beds and borders. You can cut back the old dead growth of deciduous grasses and herbaceous perennials now, although, if you'd like to be wildlife friendly, it’s best to leave these until early spring.
Clear borders and beds back to bare soil. Put the dead organic matter you’ve cleared away into your compost pile or bin to break down. Remove any weeds you can see and either burn them or put them in your brown bin. Don’t compost them as the seeds will germinate and cause you more problems later on.
If your soil is workable, dig a 5cm layer of organic matter - such as well-rotted manure, compost or recycled green waste - into empty garden borders.
3. Clean out and wash your greenhouse
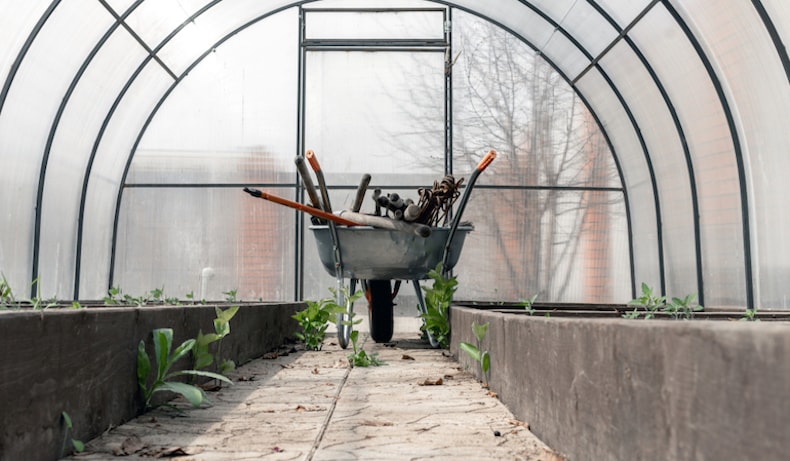
Clean out your greenhouse, wash the glass and check for damage
Image: EleniyaChe/Shutterstock
Now’s the perfect time to give your greenhouse a good clean, ready for the seedlings and cuttings of spring. Wash the outside of your greenhouse with disinfectant or detergent, to remove algae, moss and general grime. This will let in more light during the growing months, while removing potential homes for pests and disease. Make sure you disinfect the inside of the glass too - overwintering pests and disease can survive in the smallest nooks and crannies.
Sweep out any plant debris on the floor and benches, and wash with a hot solution of garden disinfectant such as Jeyes Fluid. While you're there, wash pots and seed trays to help prevent diseases like 'damping off' from infecting your young plants. Ventilate your greenhouse well over the next couple of days so it dries thoroughly.
Once your greenhouse is clean and shiny, take time to inspect the structure for any damage to glass or vents and replace any broken parts.
4. Sow any seeds that need a longer season

Start off any seeds that need a longer growing season
Image: Aubergine 'Bonica' F1 Hybrid from Thompson & Morgan
In January and February you can start sowing the seeds of plants which need a longer growing season, such as geraniums (pelargoniums), begonias, antirrhinums, peppers and aubergines. They'll need to be started in a heated propagator or similar to ensure good growth.
For more ideas of seeds you can be sowing in the winter months, take a look at our What to sow and grow in January and February pages. And for help and advice about how to sow seeds, check out our handy seed-sowing guide.
5. Hunt down and remove garden pests
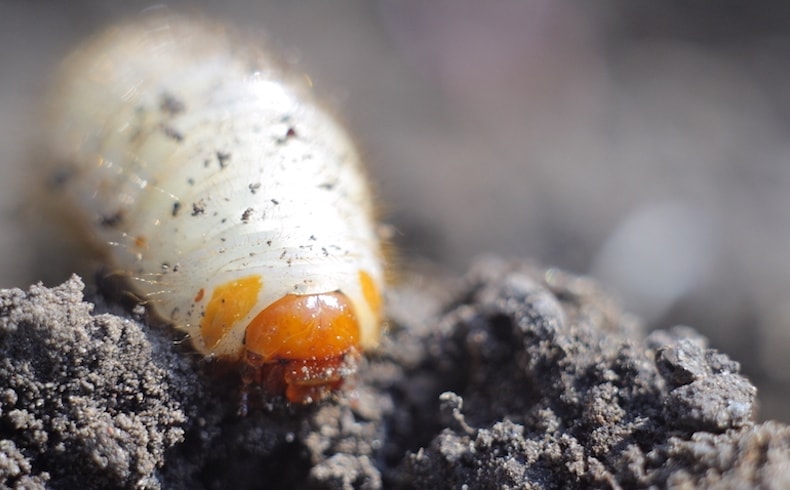
Destroy white vine weevil larvae, which feed on plant roots
Image: Alexey Filatov/Shutterstock
Hunt down and remove hibernating pests now - it will save you a lot of trouble come spring and summer. Take a closer look at the crowns of your perennial plants and check for any slugs, snails and aphid colonies sheltering for the winter.
If you still haven't cleared last year's pots of summer bedding then do so now, checking for white-vine-weevil larvae, which live in the compost and feed on plant roots. Destroy any larvae that you find and be prepared to treat for vine weevils this year, using parasitic nematodes or chemical drenches.
6. Install water butts and start collecting rainwater
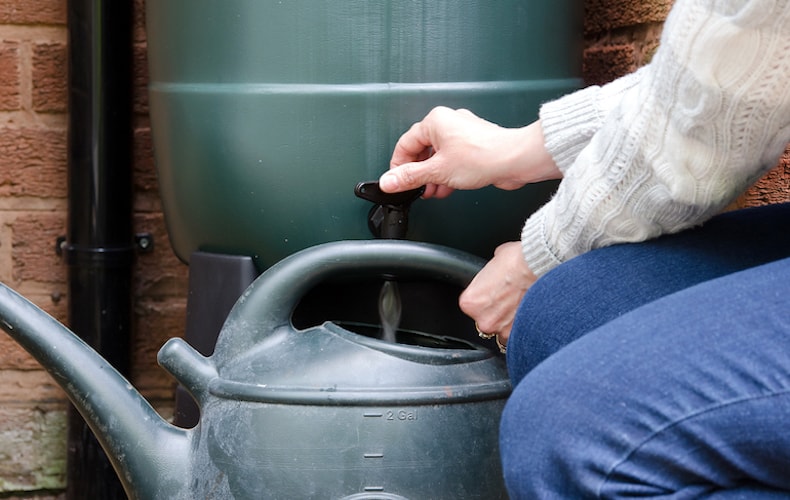
Install a water butt this winter to harvest rainwater for the coming season
Image: DJ Taylor/Shutterstock
Install a water butt in your garden this winter to make the most of seasonal rainfall. Most of the year’s rain falls in winter, so now’s the time to collect it! Harvesting rainwater is essential for environmentally friendly gardening. Peak demand for water in the hotter months often forces water companies to resort to groundwater reserves and streams, which is harmful to the environment and costly for consumers.
And rainfall is the best type of water for plants. Ericaceous plants in particular, such as camellias, rhododendrons and blueberries do best with rainwater, since tap water is often slightly alkaline.
When you install your water butt, position it underneath a downpipe from your home or shed. If you’ve got a closed drainpipe, you’ll need to get a diverter kit to siphon off some of the rainwater.
7. Move deciduous shrubs

Move deciduous shrubs like berberis while they're dormant in winter
Image: Berberis thunbergii 'Florence' from Thompson & Morgan
Winter is a great time to move any deciduous shrubs, as they’ll still be dormant. Move shrubs on a still day to prevent the wind from drying out the roots.
Dig a circular trench around the shrub, giving it a wide berth. Try to take as much of the root ball as possible so it can re-establish itself in its new location as quickly as possible. When you replant your shrub in its new position, place it at the same level it was previously in the soil, and remember to water in well afterwards.
8. Maintain fences, gates and trellis
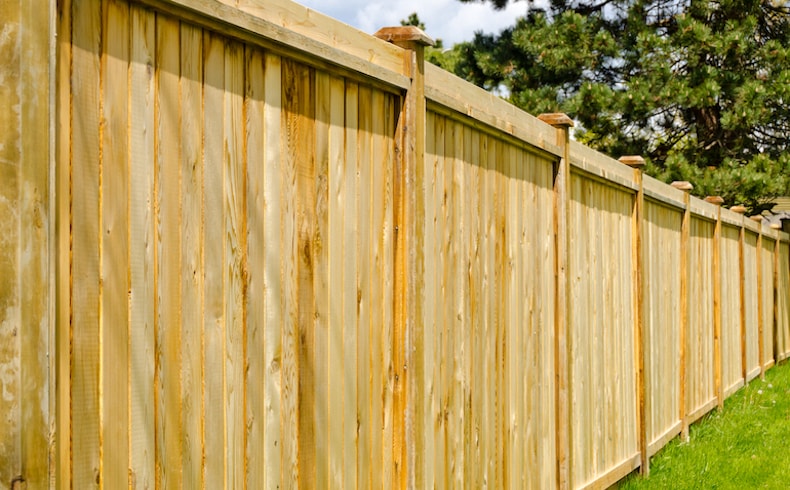
Give wooden fences some care and attention
Image: karamysh/Shutterstock
Winter is the ideal time of year to get those niggly little maintenance jobs out of the way. Check fence panels, gates and trellis for any sign of weather damage or decay. Fixing any broken structures now will give you more time to spend in the garden during the spring and summer. Replace any broken segments or structures.
Next, clean fence panels and gates with a power washer to remove dirt, moss and mildew. Use a stiff brush to help remove stubborn grime. Let the wood dry completely before applying two coats of stain, paint or wood preservative on a dry day.
9. Clean and sharpen gardening tools
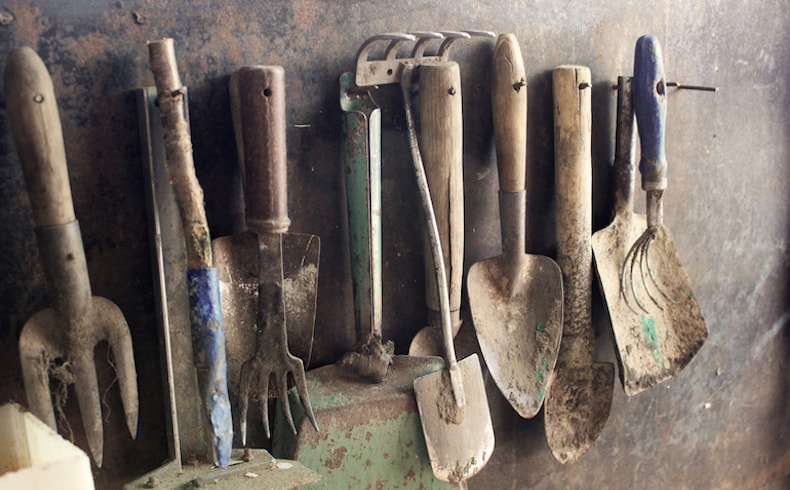
Clean and oil garden tools during the winter months
Image: Shutterstock
Give your tools a clean and a sharpen during the winter months. Maintaining your garden tools will help preserve them, saving you money in the long run and helping prevent the spread of disease. Dirty secateurs are notorious for introducing bacteria and fungi to fresh pruning wounds.
Use strong detergent, hot water and a scourer to give bladed tools a thorough clean. Sharpening your tools will also improve their performance; they'll be easier to work with and will give cleaner pruning cuts. Once sharpened, apply some oil or WD40 to blades and hinges.
Hand tools, including spades, hoes, trowels and rakes will also benefit from a good clean and oiling. For more on maintaining your garden equipment, check out our 'How to look after your garden tools' guide.
10. Create a composting area
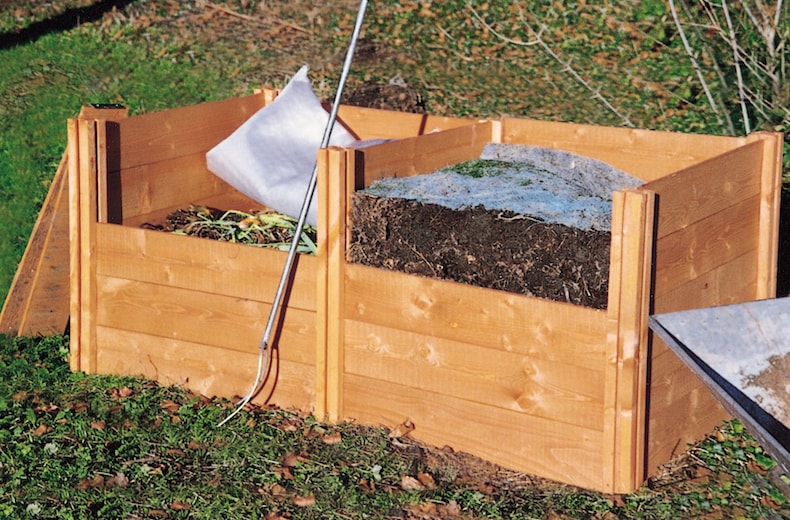
Create a compost area in your garden
Image: Shutterstock
If you haven't already, now’s a great time to set up a compost area in your garden. This could be as simple as buying a ready-made compost bin or you could build your own using spare wood.
A compost area provides somewhere to put all your organic waste. Once it has broken down, you'll get a lovely, rich compost your plants will thrive on. Make sure you have a good mixture of grass clippings, vegetable peelings, paper and woody prunings. And to help the process along you'll need to turn your compost with a garden fork each month to keep it aerated.
As you can see, there’s plenty to be getting on with this winter! Work your way through the list and you’ll hit the ground running when spring finally arrives.
See all Top 10 articles
Popular Top 10 Articles
- Top 10 Winter Vegetables
- Top 10 Potato Varieties
- Top 10 Easy-to-grow Fruit
- Top 10 Winter Bedding Plants
- Top 10 Summer Bedding Plants
- Top 10 Spring Flowering Bulbs
- Top 10 Summer Flowering Bulbs
- Top 10 Autumn/ Winter Flowering Bulbs
- Top 10 Evergreen Shrubs
- Top 10 Evergreen Shrubs for Small Gardens
- Top 10 Easy-to-grow Flowers
- Top 10 Cut Flowers
- Top 10 Hanging Basket Plants
- Top 10 Plants for Patios
- Top 10 Houseplants
- Top 10 Climbing Plants
- Top 10 Perennial Plants
- Top 10 Hardy Plants for Winter
- Top 10 Winter Garden Tips
- Top 10 Ornamental Grasses
Written by: Sue Sanderson
 Plants and gardens have always been a big part of my life. I can remember helping my Dad to prick out seedlings, even before I could see over the top of the potting bench. As an adult, I trained at Writtle College where I received my degree, BSc. (Hons) Horticulture. After working in a specialist plantsman's nursery, and later, as a consulting arboriculturalist, I joined Thompson & Morgan in 2008. Initially looking after the grounds and coordinating the plant trials, I now support the web team offering horticultural advice online.
Sign Up For Exclusive Special Offers


© 2024 Thompson & Morgan. All rights reserved. A division of Branded Garden Products Limited.


