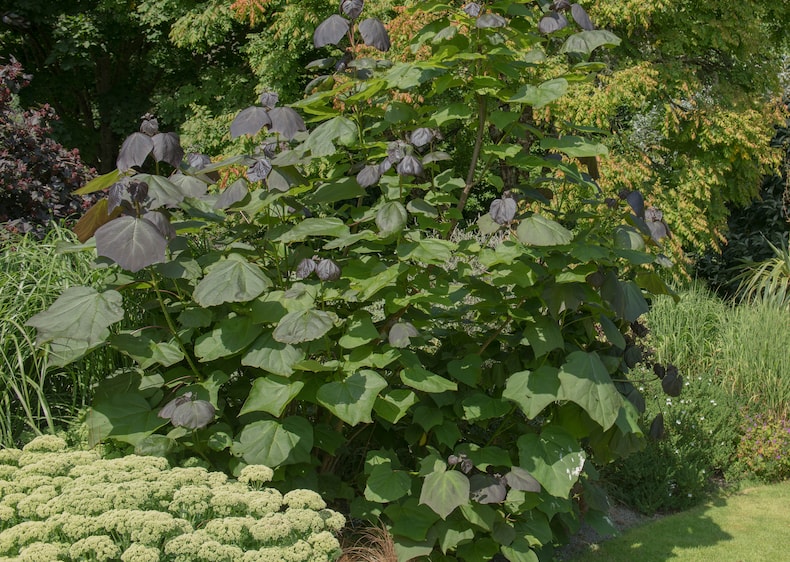
How to prune Catalpa
Catalpa trees reach mature heights of up to 12m but, if regularly pollarded, can be kept as large shrubs at the back of a border. In fact, with a little careful pruning, these exotic-looking Golden Indian Bean trees are perfect for smaller gardens. If you want to prune your catalpa, here are some tips from our horticultural team.
See our collection of catalpa trees for inspiration.
How and when to prune a catalpa

White flowers of 'Purpurea' look striking against its purple-black leaves
Image: Catalpa x erubescens 'Purpurea' from Thompson & Morgan
For regular catalpa trees, prune between late autumn and late winter when they're dormant. They respond well to hard pruning so don't be afraid to take out larger branches if needed. Remember to always make a cut just above a bud and at an angle facing away from the bud.
How and when to pollard a catalpa
If you want to pollard your catalpa, you're in luck – it's one of just a few trees that respond well to this treatment. Not only does it restrict the height to that of a large shrub, it encourages the catalpa to produce larger and more striking leaves.
- Pollarding is best done from late January to March.
- Grow your young tree to the height required - usually about 90-150cm.
- From one main trunk, choose 3-5 of the strongest and best placed branches to form the ‘scaffold'. This is the framework back to which the tree will be trimmed each year.
- With a pruning saw, cut the stems back hard to within 10cm of the stem, just above a pair of buds.
- Neat cuts will heal more quickly and prevent disease.
- Apply fertiliser and mulch.
- Continue the same process every one to three years as required, always pruning slightly above previous pollarding cuts to avoid going back into old wood.
- Thin out overcrowded new growth as the tree matures and remove new shoots to create an even balance.
- Remove shoots from the main trunk and keep the centre of the tree open to allow light and air to circulate.
See all pruning guides
Individual guides
Flower & Shrubs
- Pruning Buddleja
- Pruning Camellias
- Pruning Clematis
- Pruning Fuchsias
- Pruning Hydrangeas
- Pruning Hypercium - St Johns Wort
- Pruning Lavender
- Pruning Magnolias
- Pruning Passion Flowers
- Pruning Rhododendron
- Pruning Ribes Sanguineum
- Pruning Rosemary
- Pruning Roses
- Pruning Tree Peonies
- Pruning Wisteria
- Pruning Asparagus
- Pruning Blueberries
- Pruning Goji Berries
- Pruning Honeyberries
- Pruning Raspberries
- Pruning Apple trees
- Pruning Box and Yew trees
- Pruning Christmas trees
- Pruning Olive trees
- Pruning Patio Fruit trees
- Pruning Pear trees
- Pruning Plum trees
Fruit & Veg
Trees

Written by: Sophie Essex, garden writer
Sophie Essex is a freelance garden writer with a passion for horticulture and environmental conservation. With a BSc in Botany/Plant Biology from the University of Plymouth, she further honed her expertise through a Masters of Science in Biodiversity and Taxonomy of Plants from The University of Edinburgh. Sophie has also worked as a professional gardener and landscaper, showcasing her practical skills by transforming outdoor spaces. Her commitment to fieldwork is further evident in her acquisition of a Certificate in Field Botany from the Royal Botanic Garden Edinburgh, and over the years, she has interned at the Eden Project, Cornwall, the National Trust for Scotland and the Royal Botanic Garden Edinburgh.Banner image: imageportal/ Shutterstock
Sign Up For Exclusive Special Offers


© 2025 Thompson & Morgan. All rights reserved. A division of Branded Garden Products Limited.


