How to grow potatoes in the ground
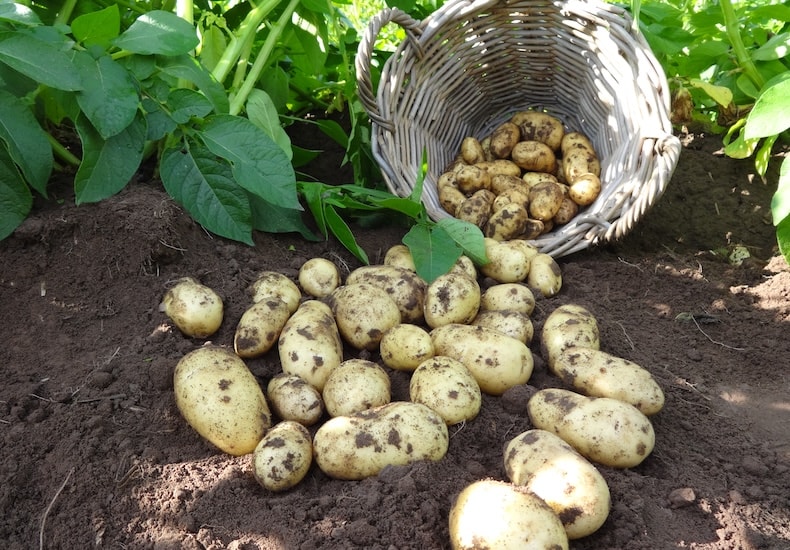
Harvest your second cropping potatoes in autumn or winter
Image: Potato 'Charlotte' (Second Cropping) from Thompson & Morgan
Enjoy the satisfying, fresh flavour of newly dug potatoes lifted straight from your own vegetable plot. If you're lucky enough to have the space for spuds, here's our easy to follow guide on how to plant and when to grow seed potatoes. Find out all you need to know about the different potato varieties and their planting times.
Prepare the ground before planting
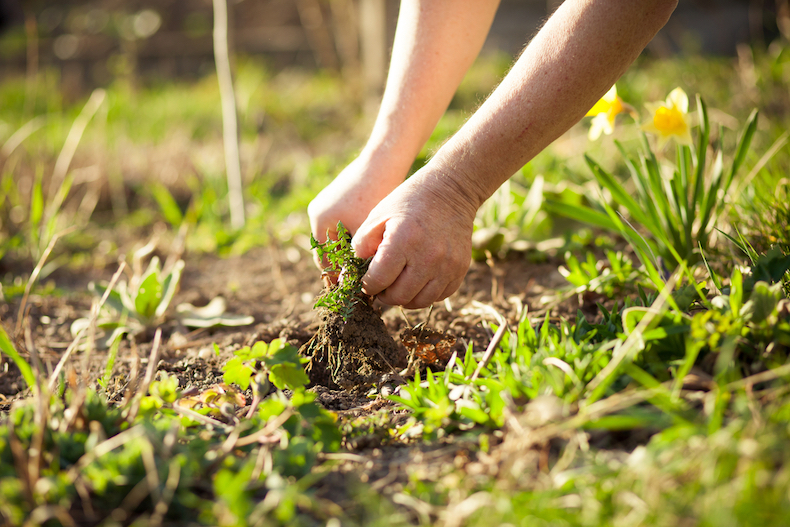
Make sure to prep and clear your vegetable garden before planting
Image: Simon Kadula/Shutterstock
To allow the soil to settle before planting, begin by preparing your potato plot well in advance. Do it in November or December, for planting at the end of February at the earliest. Remove all the weeds and dig the site thoroughly and deeply, lifting out large stones and incorporating plenty of well-rotted organic matter and high-potash fertiliser.
It's best to choose an open position in full sun on fertile, well drained soil. To reduce the chances of disease, avoid growing potatoes in the same plot for more than two years running. A slightly acidic soil is best but not essential as potatoes will tolerate a wide range of soils.
When growing potatoes in more alkaline soils, you may wish to apply sulphur to the top of the potato ridge after planting. This helps to maximize the yield and deters skin blemishes like common scab which is particularly troublesome in alkaline conditions.
Chit your potatoes
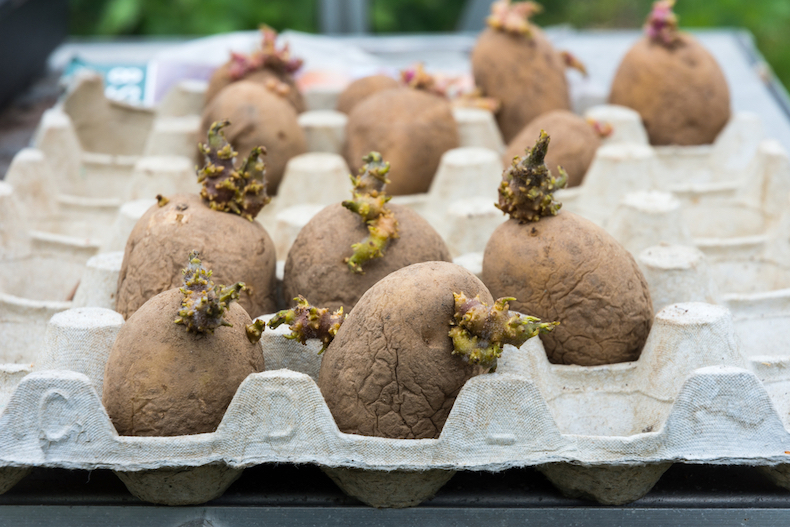
'Chitting' potatoes keeps your crop healthy and produce more harvest
Image: J Davidson/Shutterstock
Seed potatoes, particularly earlies and second earlies, benefit from 'chitting' before planting to encourage strong shoots, fast growth, and heavier cropping. Seed potatoes are normally about the size of a chicken's egg, but often vary in size. Don't worry if yours are different sizes – they'll all grow equally well.
From late January into February, 'chit' your seed potatoes by setting them out in seed trays, shallow boxes or empty egg cartons in a cool, bright, frost-free position (10C/ 50F), to allow them to sprout. You'll notice that the immature 'chits' form at one end of the potato – called the 'rose end'.
Place the rose end upwards and let the 'chits' grow to 25mm (1") in length. Rub off all but the three or four strongest chits before planting, or you'll end up with lots of potatoes, but they'll be very small.
Cutting seed potatoes
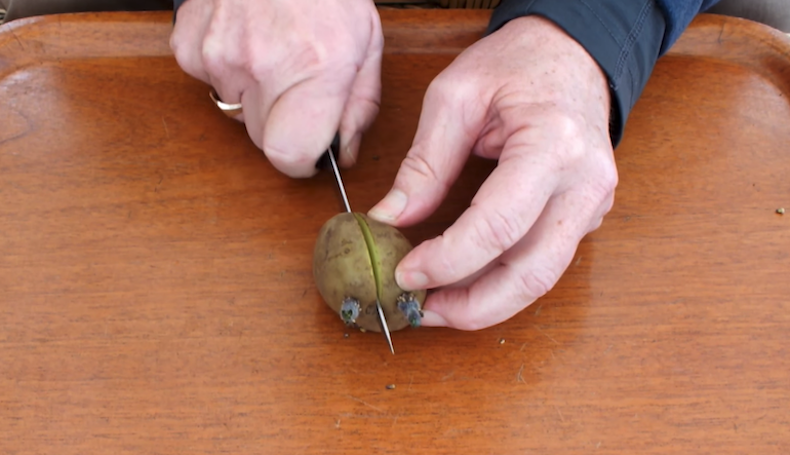
Make your harvest go further by cutting potatoes in half
Image: Home Grown Veg
During the 2nd World War it was common practice to cut larger seed potatoes in half or even smaller divisions to make them go further. The cuts should be left to dry out for 3 or 4 days before planting in the usual way. Provided that each piece has an eye or two for the new growth to develop, these tuber divisions will still crop well.
How to plant potatoes
Planting times vary considerably depending on soil conditions, and regional weather variations, but the table below should give you a general idea.
Dig a trench to a depth of about 10 cm (4") and place the seed potatoes into the soil with the rose end pointing up. Fill the trench with soil to cover the potatoes and, if required, scatter potato fertiliser along the top of the trench.
| Crop type | Planting time | Planting distance in row | Distance between rows | Approximate harvest time |
|---|---|---|---|---|
| First early potatoes | From end of February | 30cm (12") apart | 60cm (24") apart | 10 weeks from planting |
| Second early potatoes | From mid March | 37cm (15") apart | 75cm (30") apart | 13 weeks from planting |
| Early maincrop potatoes | From late March | 45cm (18") apart | 75cm (30") apart | 15 weeks from planting |
| Maincrop potatoes | From late March | 45cm (18") apart | 75cm (30") apart | 20 weeks from planting |
| Second cropping potatoes | Early August | 30cm (12") apart | 60cm (24") apart | 11 weeks from planting |
Aftercare
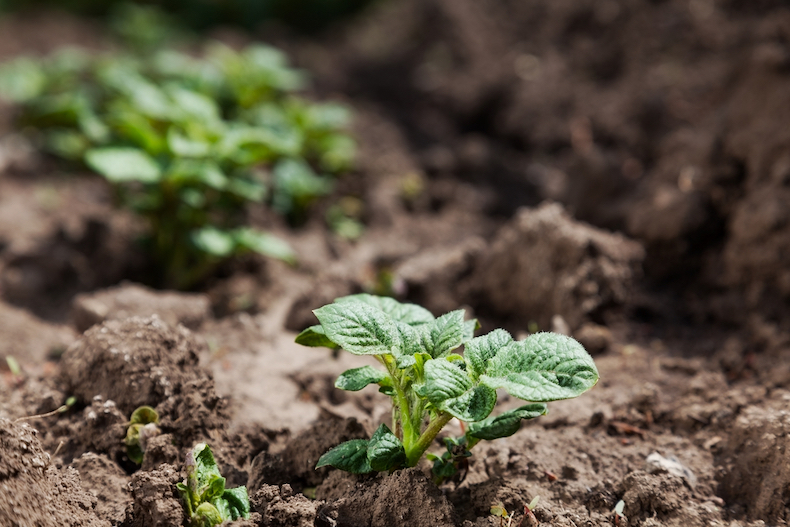
Keep your young plants healthy with some TLC
Image: Shutterstock
To protect young potato plants from frosts which blacken the shoots, it's important to 'earth them up as soon as they emerge above ground. Simply draw some soil over the top of the shoots to cover them again. When the stems reach a height of 23cm (9"), earth them up again to stop tubers near the soil surface turning green.
Unless there's plenty of rain, first early and second early crops will need watering, especially when tubers are developing.
When to harvest your potatoes
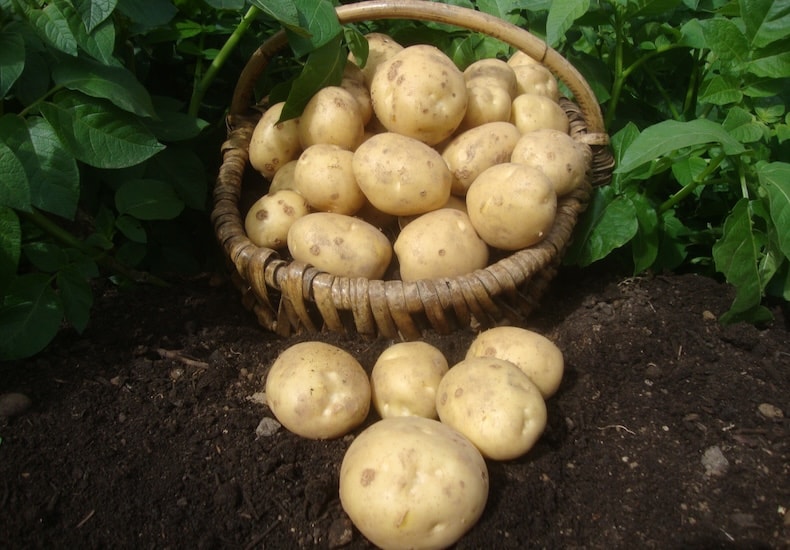
As a reliable cropper, you can expect high yields of Potato 'Marfona'
Image: Potato 'Marfona' from Thompson & Morgan
Harvest times vary depending on the growing season, weather conditions at harvest time, and the size of tuber you want. Check out the table above for a rough guide for each crop type.
Because tubers tend to grow larger over the growing period, start harvesting first earlies as 'new potatoes' when the plants begin to flower, about 10 weeks after planting.
Maincrop varieties are best left in the ground for at least two weeks after the leaves and haulms (stems) wither, to allow the skins to set. Cut down the stems with secateurs to just above soil level as the leaves wither and yellow, or if they show signs of blight.
Second cropping potatoes
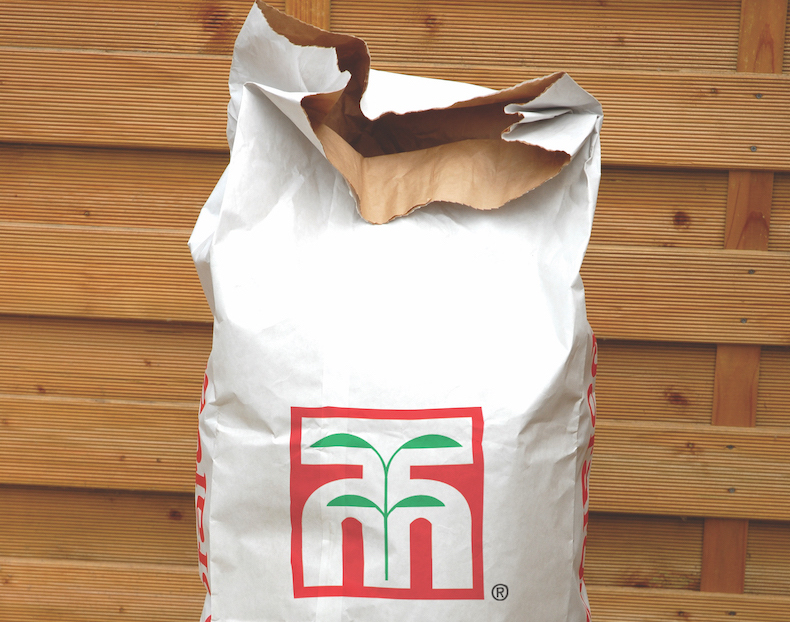
Invest in breathable storage to stop second cropping potatoes from rotting
Image: Thompson & Morgan
In the UK, second cropping potatoes are best planted outdoors in early August and no later than the end of August. If planting in a protected environment like a polytunnel or greenhouse, you can delay planting by a week or so but, to avoid disappointing results, you must have done it by the end of the first week of September.
There is no need to pre-chit these seed potatoes as this happens quite naturally after planting. 'Ping-pong ball' sized tubers should be ready for harvesting approximately 10 to 11 weeks after planting. Cut back the stems to just above ground level and dig up your spuds as you need them.
Protect late crops from frost by covering them with a thick layer of straw and/or sacking, and although they'll be more susceptible to attack by slugs and wireworm, you should be able to continue harvesting until around Christmas time.
After harvesting, leave the tubers on the soil surface for a few hours to dry and cure the skin. Once dry, store them in paper sacks in a dark, cool but frost free place. Avoid storing in polythene bags as potatoes will 'sweat' and rot.
Now you know how to plant and grow your own potatoes, all you need to do is decide which varieties to go for. With the right preparation and care, a mouthwatering pile of hot buttered spuds is yours for the taking. Visit our comprehensive hub page for additional info and expert advice on growing potatoes.
Return to
Other quick links

Written by: Sue Sanderson
Plants and gardens have always been a big part of my life. I can remember helping my Dad to prick out seedlings, even before I could see over the top of the potting bench. As an adult, I trained at Writtle College where I received my degree, BSc. (Hons) Horticulture. After working in a specialist plantsman's nursery, and later, as a consulting arboriculturalist, I joined Thompson & Morgan in 2008. Initially looking after the grounds and coordinating the plant trials, I now support the web team offering horticultural advice online.Sign Up For Exclusive Special Offers


© 2025 Thompson & Morgan. All rights reserved. A division of Branded Garden Products Limited.
Sign up for exclusive offers!


