How To Grow Onions and Shallots
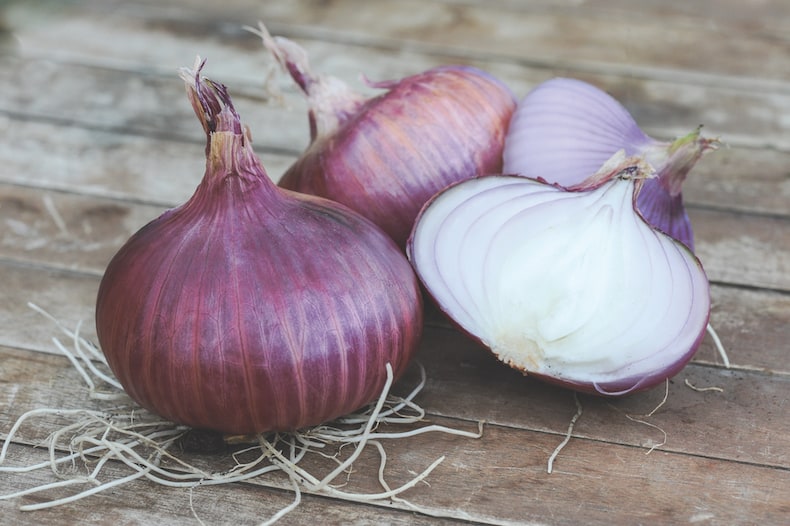
Onions and shallots are ideal for beginners
Image: Onion 'Red Baron' from Thompson & Morgan
Onions and shallots are easy to grow and make the perfect low-maintenance crop for beginner gardeners. They don't take up much space either, so you can squeeze in a row or two between other crops, or plant them in containers.
Packed with flavour and vitamin C, onions have antioxidant and anti-inflammatory effects that have been linked to a reduced risk of cancer, lower blood pressure, and increased bone health. Here’s everything you need to know about planting and growing onion sets at home.
Bulbs vs. seed
You can grow onions and shallots from seed or from sets (small bulbs). The main advantage to growing them from seed is cost. If you take this route, they have the potential to produce larger bulbs, as you can sow them in the greenhouse over winter, which extends their growing season.
If you prefer not to take up valuable greenhouse space, simply buy onion sets which you can plant directly into the garden. You’ll notice that some onion bulbs are heat treated. This just means that they’ve been specially prepared to help prevent bolting (producing flower stems too quickly) – something which happens more frequently with red varieties. This process extends the growth period of the onions so you’ll get a heavier yield.
What's the difference between onions and shallots?
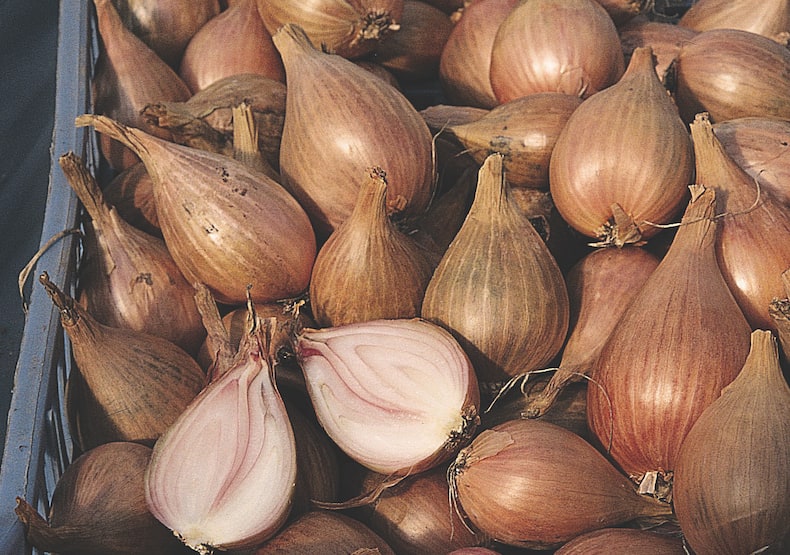
Shallots often have a milder flavour
Image: Shallot 'Jermor' (Autumn Planting) from Thompson & Morgan
Shallots and onions are of the same family and share many characteristics. Shallot bulbs are smaller and, once grown, tend to have a milder flavour than onions. They’re frequently used in French cuisine but are slightly trickier to peel, so perhaps this is why the onion remains more popular in the UK.
The main difference in the garden is that shallots form clumps of bulbs, whereas onions grow as individual bulbs. Regardless of this, they’re planted and grown in exactly the same way.
Should I buy spring or autumn planting sets?
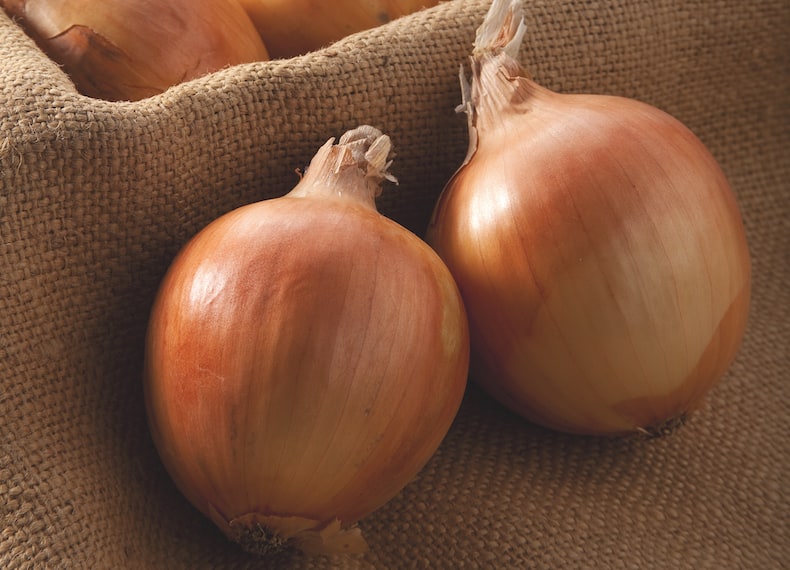
Plant sets out in the spring or autumn
Image: Onion 'Shakespeare' from Thompson & Morgan
Onion and shallot sets are sold as spring or autumn planting varieties. Traditionally they’re planted in the spring as the soil begins to warm. However some gardeners prefer to plant theirs in the autumn, leaving them to overwinter outdoors. The advantage to autumn planting is that these crops will be ready to harvest a little earlier than spring planted sets. It also allows busy gardeners to get ahead at a quieter time of the year.
Which variety to choose?
There are plenty of shallot and onion varieties to choose from. Here are a few of our favourites to get you started!
| Onions | Description |
|---|---|
| 'Ailsa Craig' | A giant onion for the show bench, but equally good in the kitchen. |
| 'Sturron' | A traditional variety that has become a favourite for its reliability. |
| 'Red Baron' | A beautiful dark red onion with eye-catching red rimmed flesh and a stronger flavour than most varieties. |
| 'High Keeper' F1 Hybrid | This is by far the best variety for overwintering from an autumn sowing outdoors. Equally good for spring sowing and stores well. |
| Shallots | Description |
|---|---|
| 'Figaro' | Attractive, shiny, copper brown-skinned bulbs with crisp white flesh and a very distinct flavour. |
| 'Jermor' | Producing 'banana' shaped shallots, this variety is popular in the kitchen for its sweet taste. |
| 'Lorient' | A reliable, British-bred shallot that makes a strong start but is slow to bolt. Produces long, richly sweet bulbs. |
How to sow shallot and onion seeds
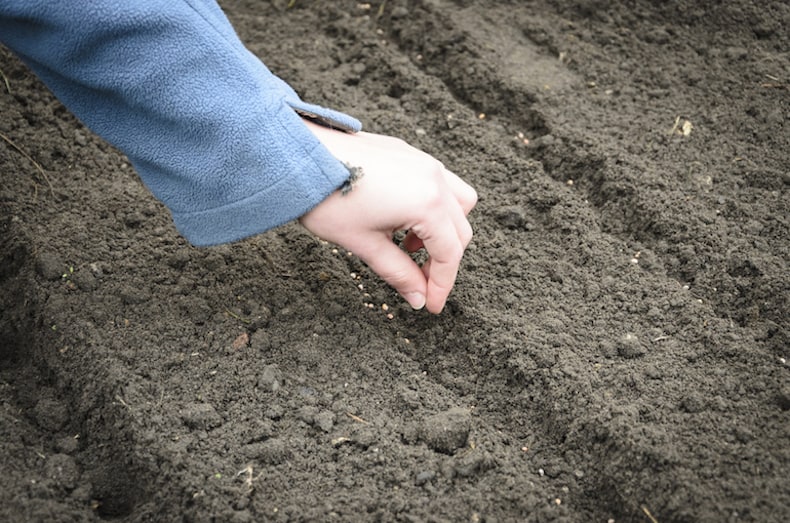
Sow seeds thinly in drills 30cm apart
Image: Piotr Debowski/Shutterstock
If you prefer to grow your alliums from seed, sow them directly outdoors in spring as the soil begins to warm up. Choose firm, well drained soil and a position that gets full sun. Sow the seed thinly at a depth of 1cm (½"), leaving a gap of 30cm (12") between each row. When large enough to handle, thin the onion seedlings to 10cm (4") apart for medium sized bulbs, or slightly further apart if you want to let them grow a little larger.
Alternatively, you can get a head start by sowing seeds in the greenhouse or on a bright windowsill during the winter. Sow them in module trays using free-draining, seed sowing compost. Place the trays in a propagator or seal them inside a plastic bag at a temperature of 10-15C (50-59F) until after germination. Once germinated, grow on your seedlings in cool conditions until all risk of frost has passed and they’re large enough to plant outdoors.
How to plant onion and shallot sets
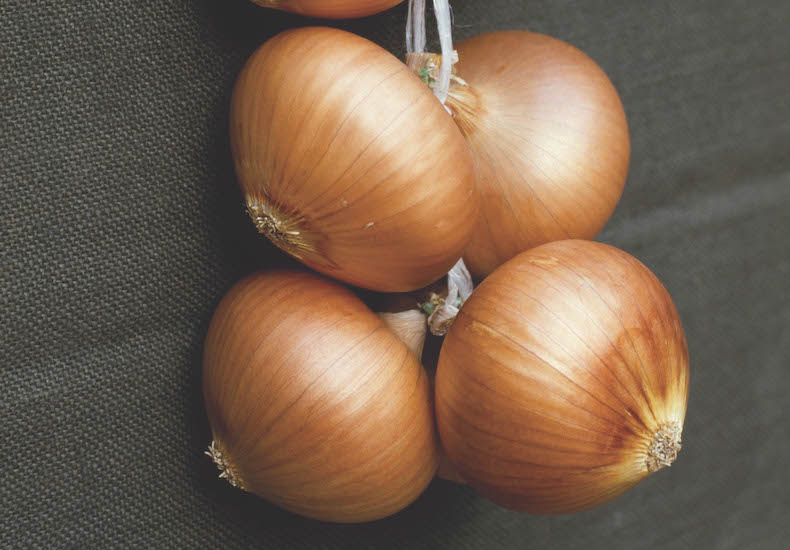
Onions like 'Stuttgarter Giant' prefer well drained soil and full sun
Copyright: Photos Horticultural
Onions are not particularly fussy or demanding but they do prefer a sunny position and well-drained soil. It's well worth preparing the planting area several weeks in advance by incorporating some well-rotted garden compost to improve drainage and soil fertility. But don't be tempted to add any manure as this contains much higher levels of nitrogen than onions need. On particularly wet ground, try growing onions and shallots in raised beds or even in containers.
- Plant shallot and onion sets in rows with the tip of each bulb only just protruding through the surface of the soil.
- For onions, leave a space of 10cm (4") between each bulb, and 30cm (12") between each row.
- For shallots, leave a space of 18cm (7") between each bulb, leaving 30cm (12") between rows.
- Some gardeners like to sprinkle granular onion fertiliser around the base of each set as you plant them.
After planting the sets, it’s a good idea to cover your crop with a protective netting or fleece to prevent them being attacked by birds and insects. Birds love to grasp the protruding tips and yank them up!
How to look after onions and shallots
These plants are remarkably undemanding, and require only occasional watering during particularly dry periods. However, you will need to hoe between the rows regularly to keep on top of weeds. Any flowers that appear should be removed immediately to prevent onions from bolting.
Harvesting onions and shallots
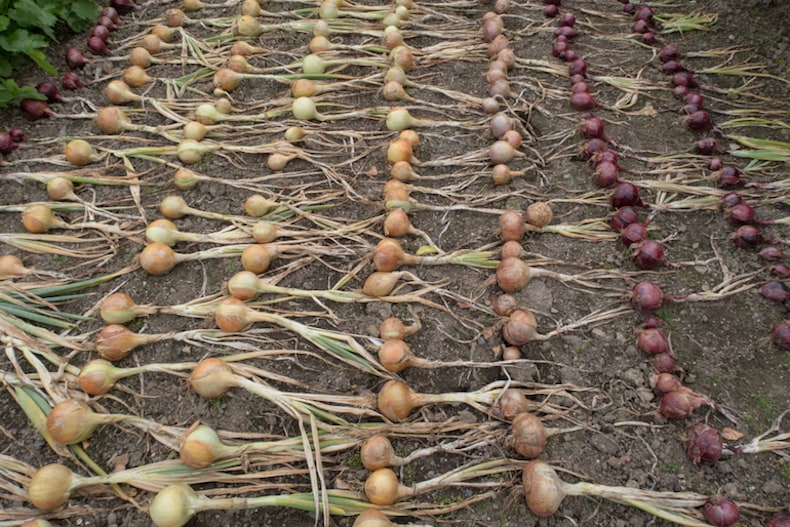
A crop of onions is left to dry in the sun
Image: Peter Turner Photography/Shutterstock
Harvest onions and shallots from late June or early July, a week or two after the leaves begin to turn yellow. Choose a dry day to loosen them from the ground with a fork. After lifting the bulbs, leave them on the soil surface for a couple of days or until they’ve fully dried in the sun. Once dry, remove the top foliage and store them in a cool, well ventilated, dry place where they will keep for several months.
If you haven’t tried growing onions or shallots before, we hope you’ll give it a go now you know how straightforward it is. For more information on these tasty vegetables and how to grow other types of alliums, head over to our hub page. And if you manage to produce a prize-winning specimen for your village show, be sure to take a photo and tag us in!
Return to
Other quick links

Written by: Sue Sanderson
Plants and gardens have always been a big part of my life. I can remember helping my Dad to prick out seedlings, even before I could see over the top of the potting bench. As an adult, I trained at Writtle College where I received my degree, BSc. (Hons) Horticulture. After working in a specialist plantsman's nursery, and later, as a consulting arboriculturalist, I joined Thompson & Morgan in 2008. Initially looking after the grounds and coordinating the plant trials, I now support the web team offering horticultural advice online.Sign Up For Exclusive Special Offers


© 2025 Thompson & Morgan. All rights reserved. A division of Branded Garden Products Limited.


